Setting the Stage for Your Teaching Studio
You want to make sure your teaching space is clean and well-lit prior to signing onto the lesson. Most adjustments are simple, but students will likely not be impressed if you need to spend the first ten minutes of the lesson moving lamps around. As always, we recommend testing.
Lighting
- Good lighting can be achieved with daylighting, or with an overhead and lamp combination. Using only an overhead light at night or being really close to a bright window may not give great results. The overhead light will likely make shadows, making you look gaunt and making fingering or other intricate skills difficult to view. Being close to a bright window causes glare, making you overly bright and washed out - which also makes it difficult for your student to see what you're doing. Do not rely on your computer as a sole source of light; it's not enough light and will also cast a blue glow on everything. Also make sure the only light is not behind you, as you will appear in shadow.
The Studio Space
-
Keep it tidy; you don’t want to lose a student because of a pile of dishes in the corner.
- Some thoughts on your background:
- A bare wall as background for lessons is totally fine!
- Some teachers go above and beyond and set up a whole tableau for their online lessons "set," these can be really cool too.
- Zoom also offers some fake green-screen-esque backgrounds. These are mostly fun in the short-term and can be a bit distracting after a few moments. (Kids may be especially excited about a quick scene change with an outer space background!)
- We did have a teacher lose a student over there being dirty laundry on-camera. (There were some other issues but the laundry was mentioned). Try to clear detritus and clutter from your scene.
- Make sure your household members know when you are teaching, and as much as possible can give you space to focus on your lesson.
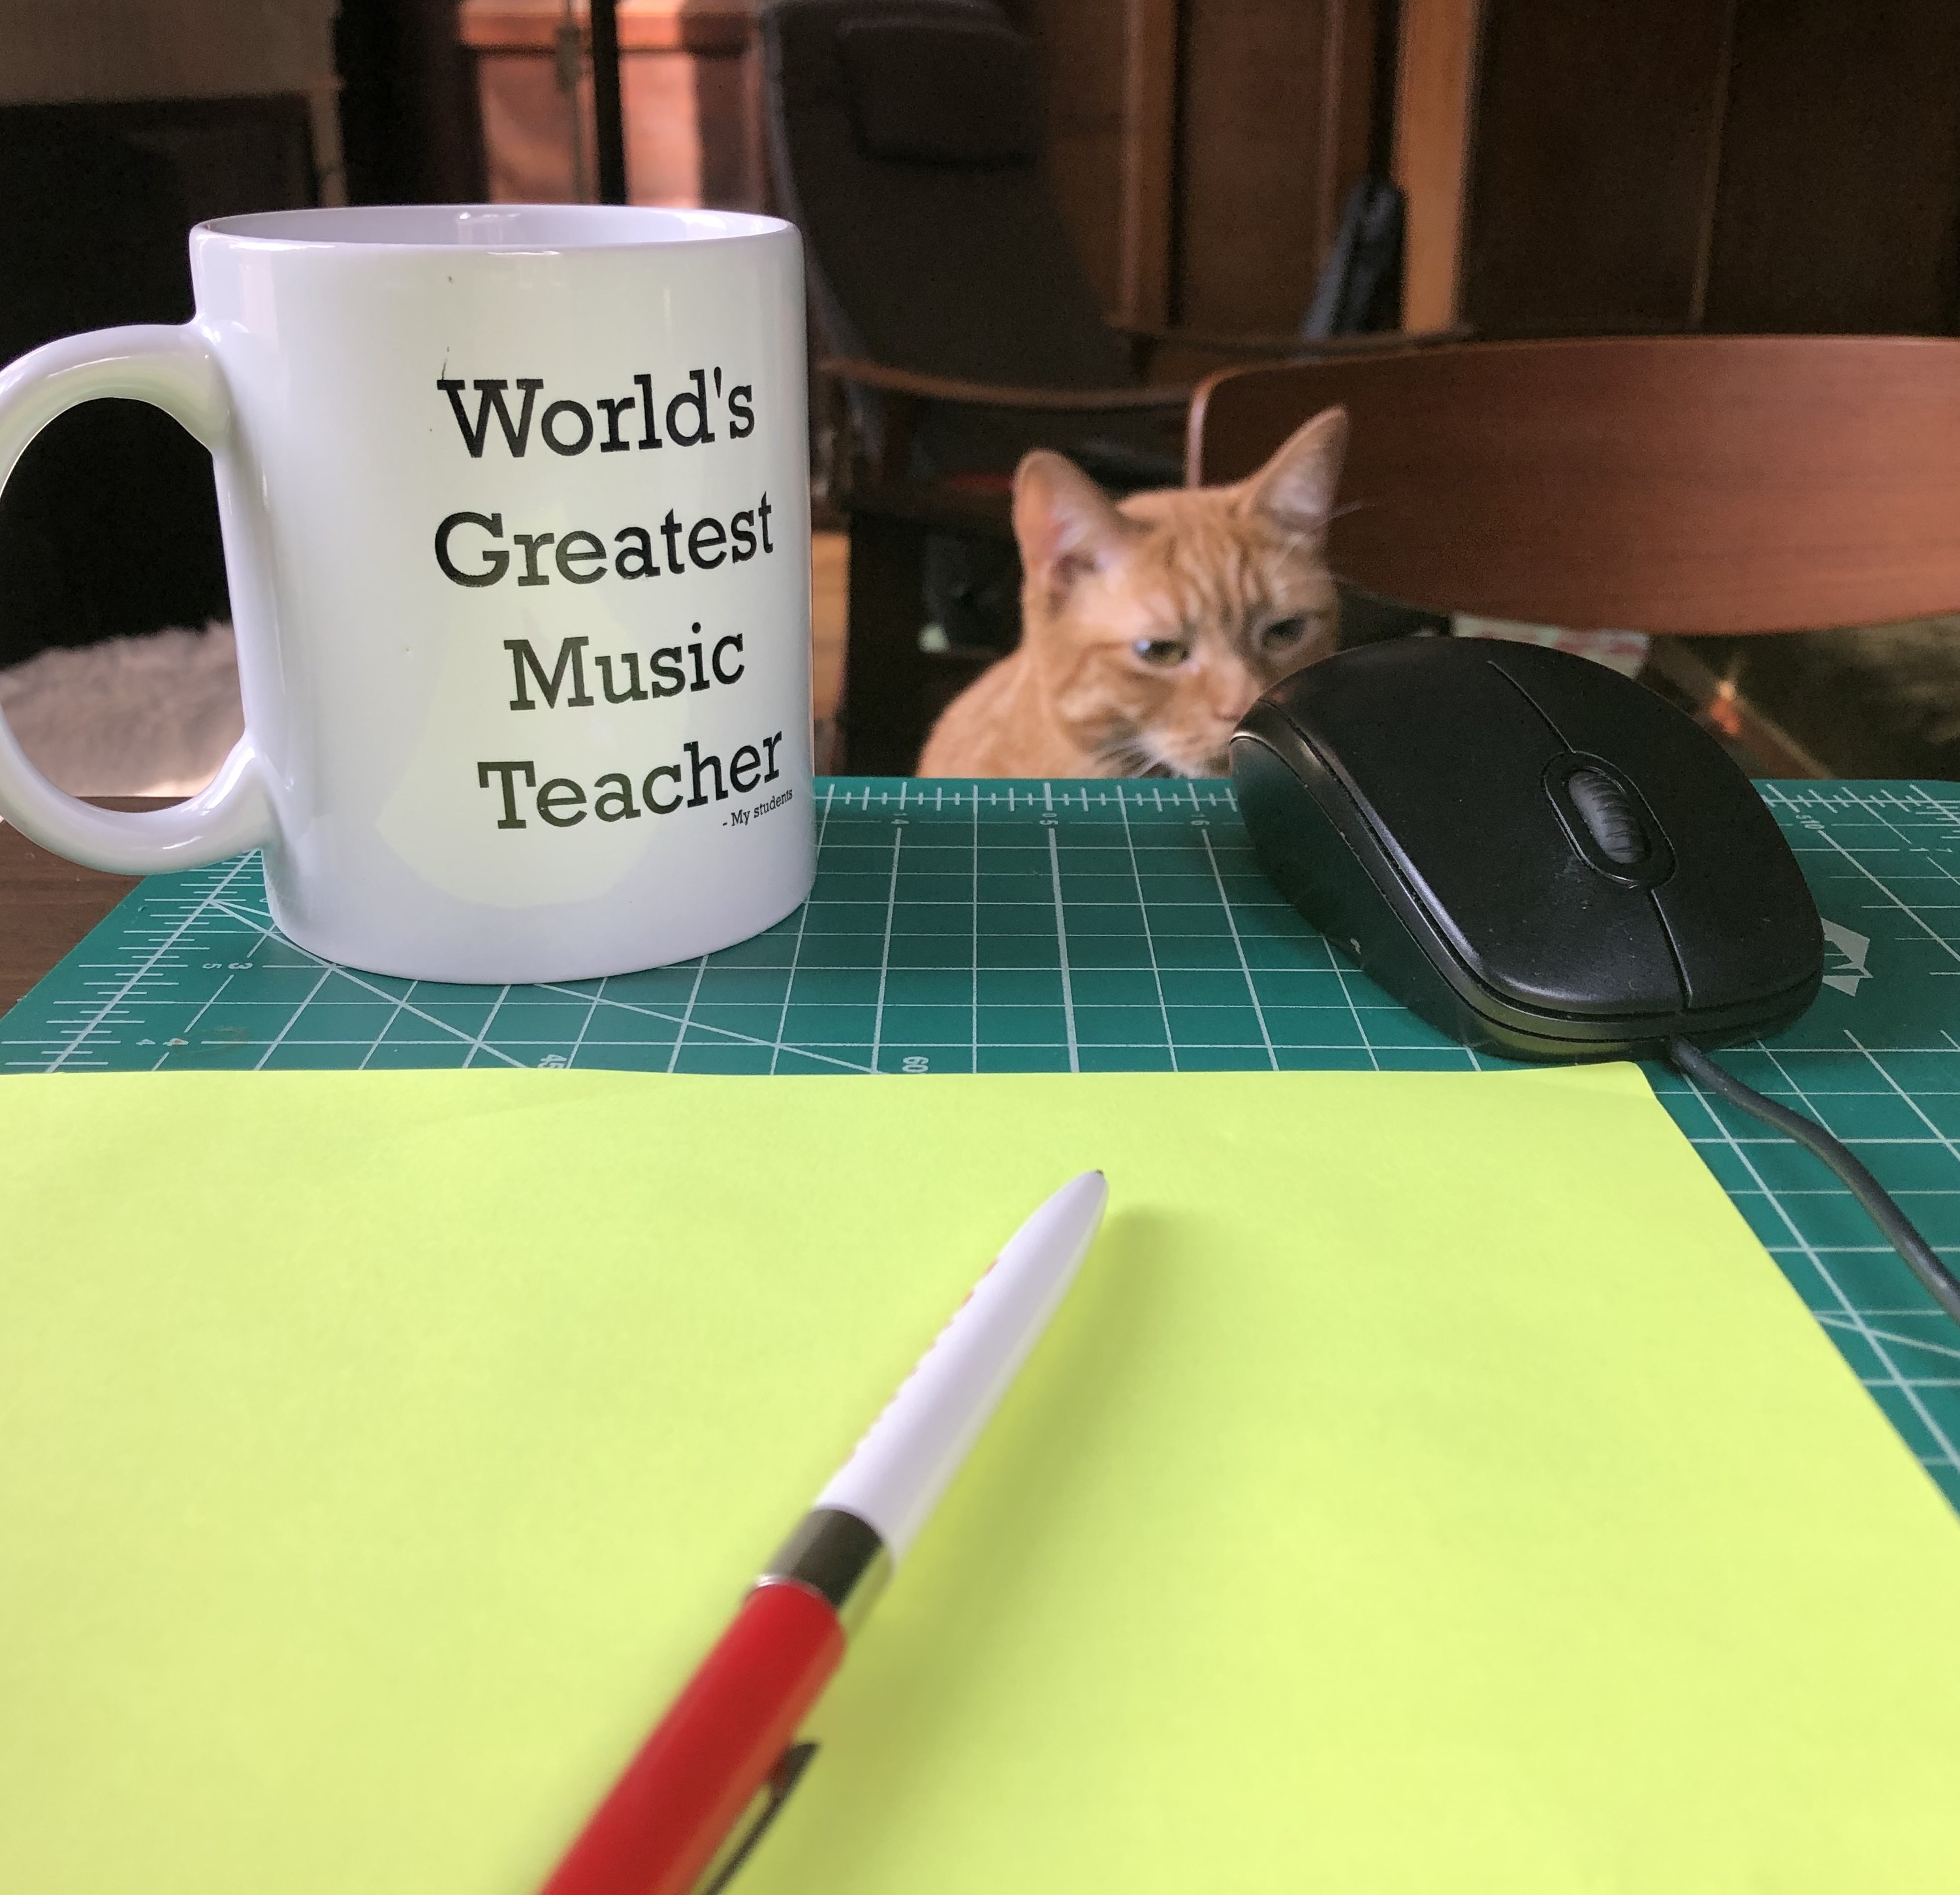
- Pets, especially cats, love video conferencing. Short visits are usually well-received by students, but probably best not to stop too long to fuss over a pet. If you know your animal will get needy, put them in another room, possibly a couple rooms away where they can't hear you, and vice versa.
- Gather your supplies before the lesson begins -- tuner, glass of water, a notebook, 'world's greatest music teacher' mug.
- Attire: Some people joke that you don't need to be fully dressed to video conference. We do not recommend this approach. Be comfortable, at ease, and fully clothed. Students reading this, same recommendation!
Adjusting Your Camera Position
-
Ensure that you as well as any items that may enhance your studio’s appearance are visible and in focus.
- Set up your computer or tablet so that the entire action of playing can be visible on screen. The first tendency generally seems to be to adjust the placement of the computer and webcam - remember that you can always move yourself further away from the webcam also. Even for larger instruments - piano, marimba, harp - getting all the action on screen is completely feasible, just use a sturdy table or chair and adjust the camera angle so that the entire area in action is viewable. You can always continue to adjust the angles as needed during the lesson.
- Consider placing your laptop on a stack of books, or some other prop, to raise it up a bit. The laptop tilted-up angle is sometimes not the most flattering, for one thing, and it can make it more difficult for teachers of guitar and other hand-held instruments to show the hands on the instrument and your face at the same time. The name is Lessonface — the face should be in the lesson as much as is workable!
Next:

Start Lessons
Search for your perfect music, language, or arts teacher and start working towards your learning goals.

Start with a Free Trial
Teachers on Lessonface set their own rates and discounts. Participating teachers offer free trials.
Great Teachers, Great Lessons, Guaranteed
Learn more about the greatest universe for online music and arts lessons.
Lessonface Recitals, Open Mics, Masterclasses, and Jams
Welcome students of all ages and skill levels!
Comments
Leah Kruszewski
Thu, 03/12/2020 - 11:38am EDT
Permalink
Communicating proper set-up to your students
It’s worth noting too that it’s important for your students to be properly set up and be able to communicate what this means. In general, I try not to stress students out with lots of tech talk (unless the student seems interested in optimizing their set up). As teachers, we can adapt (within reason) to a student’s subpar audio quality or slightly grainy video. But we certainly can’t teach a guitar lesson if we can’t see the student’s whole guitar and both of their hands! This can be hard to get across, and some students need (1) a screenshot of their self-view once they get it right the first time and (2) a gentle reminder at the beginning of each class until paying attention to their self-view becomes a habit. In some cases, a tripod for a mobile phone or a flexible case for a tablet can be the best investment a student can make in their set-up.
Also, regardless of the quality of the camera, proper lighting can make or break the picture quality. Often it’s low lighting alone that makes a picture appear grainy, and has nothing to do with the camera. These sorts of things seem obvious if you’ve been teaching (or taking) online a while, but they’re not if you’re new to the format! We don’t want to overwhelm students with instructions on the first class, but we can gently push them to make little changes little by little for a better class experience overall.