Your Instructor Profile Part 1: How to Populate Your Profile
Your Lessonface profile is your unique page that will allow students to search for you and identify you as a potential teacher. Let's start with the basics of what's on your profile page.
 1. About
Tell your students a bit about your background, particularly with your training, recording, performing, and your areas of expertise. We'll talk more in a bit about what to put here below.
2. Rate
You'll set your own rate for your students. You can also advertise a free 15-minute trial lesson here (which we recommend you offer). If you want, you can disable listing your price.
3. Photo or video
Your instructor profile picture will be displayed here. You also have the option to post a YouTube video here instead.
4. Teaching Style
What students can expect from you as a teacher.
5. Availability
This is where students actually sign up for lessons. You'll want to ensure that this is kept up to date.
Alright, enough orientation; let's start populating this thing already!
If you've already populated your profile, feel free to jump ahead to "polishing your profile."
If you'd like a step-by-step guide to getting your profile set up, continue reading below.
.jpg)
Accessing your profile
You can easily edit your profile by hovering over the gear icon in the top corner and clicking on my settings. This will take you to your profile page. There are three tabs here: |
.jpg)
Account > Personal Info
The email address that you have listed will be the one where all Lessonface notifications are sent; you'll want to make sure you've signed up with an address that you regularly monitor. You can update your email address and password at any time. Unfortunately, you can't update your username once you've created your account. Set your time zone to whatever is local to you. Lessonface will automatically convert the time you list as available into whatever is local for whomever viewing your profile. |
.jpg)
Account > Photo
You'll be asked to post two photos on Lessonface: one as part of your account and another for your Instructor Profile. This first one is the photo will show up when you send messages. No one wants to talk to a silhouette so make sure that you post a photo here. |
Now that the basics are out of the way, let's click save and move onto the Instructor Profile tab.
.jpg)
Instructor Profile > Skill Level |
.jpg)
Instructor Profile > Rates Step 2 - determine the rate of each lesson type Step 3 - display rates option Step 4 - bundling |

Instructor Profile - Availability
Lessonface will publish your availability for students to be able to sign up for available times; students will see a populated calendar at the bottom of your profile page. Step 1 - select the date range Step 2 - select the days and time Step 3 - select the days of the week Step 4 - save But what if I want to have different times available on different days of the week? I want to set up some blocks of time in my general availability when I can't teach. Some tips on your availability: If you have any questions about setting up your availability, email [email protected]. |
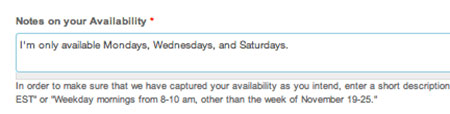
Instructor Profile > Notes on availability Please be as specific as possible here. |
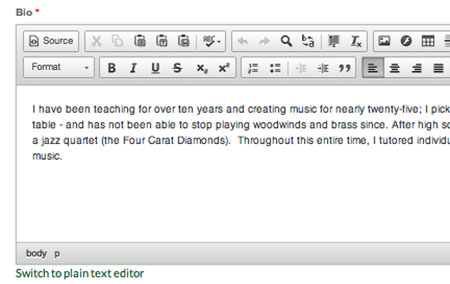
Instructor Profile > Bio Some pointers for this section:
Some pro tips:
Need help? Email [email protected]. |
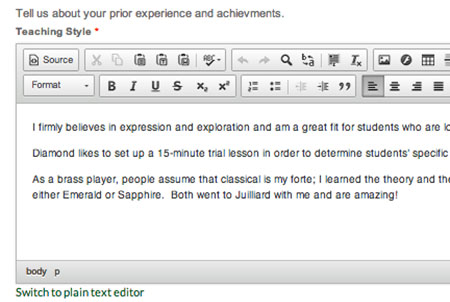
Instructor Profile > Teaching Style Students should read this and think to themselves either, "Yes! That's exactly what I want to learn; this teacher sounds rad!" or "She sounds great, but that's not really the style of music I'm looking to pursue." Similar to your biography, don't be afraid to use the rich-text editor. |
 Instructor Profile > Lesson Categories Instructor Profile > Lesson CategoriesSelect from the collapsible menus all of the instruments, styles, or techniques that you are interested in teaching. These will be advertised on your profile page. Please only select what you are an expert in teaching. We've seen that prospective students tend to be a bit turned off by teachers that advertise being able to teach all instruments. |
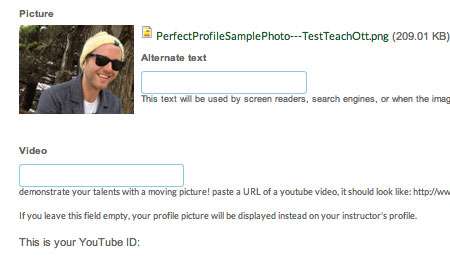 Instructor Profile > Photo & Video Your photo is one of the most powerful ways that you'll attract students. Some photo guidelines: 1. Opt for a horizontally oriented photo; this will generally appear better all over the site. 2. Set your aspect ratio to 3 x 2 (many photos on the site will automatically re-size to 300 x 200px). 3. You should clearly be in the picture; let your personality shine through, smile, and include your instrument if at all possible. If you include link to a YouTube video into your profile, it will take the place of your photo onto your instructor page. You just need to copy and paste the url from the YouTube video into the Video box. Be mindful of the first frame of your video since it will show up on your profile page. Learn more about selecting the perfect photo and video. |
The final tab is the personal and financial information tab; you won't use this frequently.
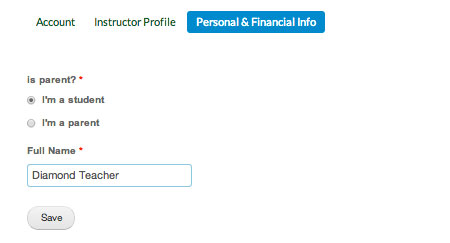 Personal & Financial Info Personal & Financial InfoThere are two items you can change here: 1. Your type of account You'll want to keep this set to student unless you will have other users for whom you will be managing their schedule. 2. Full Name |

Start Lessons
Search for your perfect music, language, or arts teacher and start working towards your learning goals.

Start with a Free Trial
Teachers on Lessonface set their own rates and discounts. Participating teachers offer free trials.
Great Teachers, Great Lessons, Guaranteed
Learn more about the greatest universe for online music and arts lessons.
Lessonface Recitals, Open Mics, Masterclasses, and Jams
Welcome students of all ages and skill levels!